
Fixing a Riley Murray Leak: Tips and Tricks for DIY Plumbers
Intro
Do you have a Riley Murray leak in your home plumbing system? If so, you are not alone. Unfortunately, a Riley Murray leak can be difficult to detect and even more difficult to repair. That’s why we have put together this blog post to provide tips and tricks for DIY plumbers attempting to fix a Riley Murray leak. We will go through the basics of identifying the leak, the steps necessary to fix it, and the tools and materials required for the job. With these tips and tricks, you can be sure that your Riley Murray leak will be fixed correctly and safely.
Understanding a Riley Murray Leak
If you’ve noticed water seeping out of your plumbing system and cannot pinpoint the source of the leak, you may be dealing with a Riley Murray leak. This type of leak is caused by a faulty connection between the pipes and the plumbing fixture.
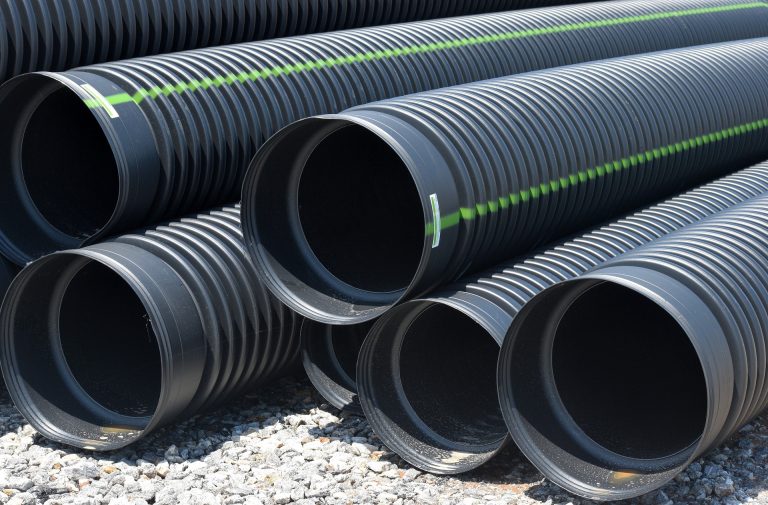
The name Riley Murray leak refers to a specific brand of push-fit fittings that are commonly used in residential and commercial plumbing systems. While these fittings are known for their ease of use and convenience, they can sometimes fail and cause water to leak out.
It’s important to note that not all leaks in plumbing systems are caused by Riley Murray fittings. There can be many different reasons for a plumbing leak, such as cracks in the pipes or corrosion. Therefore, it’s essential to determine the root cause of the problem before attempting to fix it.
If you suspect that you have a Riley Murray leak, it’s best to act fast and fix it as soon as possible. Ignoring the problem can lead to further damage and higher repair costs down the road. With the right tools and materials, you can fix a Riley Murray leak on your own.
Also read:
Tools and Materials Needed for Fixing the Leak

Fixing a Riley Murray leak can be a straightforward task if you have the right tools and materials. Here are some essential items that you’ll need before you begin:
- Pipe wrench or adjustable wrench
- Teflon tape or pipe thread sealant
- Rubber gloves
- Rags or towels
- A bucket or container to catch any leaking water
- Replacement fittings or parts (if necessary)
- A flashlight or headlamp (in case you’re working in a poorly-lit area)
It’s always better to have more tools than less, so if you have any doubt about what you might need, don’t hesitate to ask a professional plumber for advice. Additionally, it’s important to invest in high-quality tools and materials that will last a long time and help you complete the job safely and effectively.
Now that you have all the necessary tools and materials, it’s time to move onto the next step – preparation.
Preparation Steps Before Fixing the Leak
Before you start fixing a Riley Murray leak, it’s important to prepare the area to ensure the repair goes smoothly. Here are the preparation steps you need to follow:
- Turn off the Water Supply: The first thing you need to do is turn off the water supply to the affected area. This will prevent water from flowing and causing further damage to the surrounding area.
- Drain the Water Lines: Once you’ve turned off the water supply, you’ll need to drain the water lines. This will help prevent any water from spilling out and causing a mess during the repair process. To do this, simply open all the faucets and let the water flow out.
- Remove any Obstructions: You’ll need to clear the area around the leak to ensure you have enough space to work. This means removing any items that are in the way, such as towels, buckets, or other items.
- Clean the Area: Before you start the repair process, it’s important to clean the area around the leak. This will help you see the damage clearly and ensure a proper seal is made. You can use a clean cloth or a mild detergent to clean the area.
By following these preparation steps, you can ensure a successful repair of your Riley Murray leak. It’s important to take the time to prepare properly, as this can make a big difference in the final outcome of the repair.
Fixing the Riley Murray Leak Step-by-Step
Now that you have prepared yourself and gathered the necessary tools and materials, it’s time to fix the leak. Here’s a step-by-step guide to help you get it done.
Step 1: Turn off the water supply
Before you begin fixing the leak, turn off the water supply to prevent water from flowing while you work. Locate the valve or knob near the affected area and turn it clockwise to shut off the water supply.
Step 2: Remove the damaged section of the pipe
Using your pipe cutter or hacksaw, cut off the damaged section of the pipe. Make sure to cut straight and clean to ensure that the new fittings will fit properly.
Step 3: Prepare the new fittings
Measure the length of the cut pipe and cut a new section of pipe to the same length. Then, apply plumber’s tape to the threaded ends of the new fittings to ensure a tight seal. Screw the fittings onto the new section of pipe.

Step 4: Connect the new section of pipe
Insert the new section of pipe between the existing pipes, using slip joint pliers or pipe wrenches to tighten the connections.
Step 5: Test for leaks
Turn on the water supply and let the water run through the new section of pipe. Check for any leaks and tighten any connections if needed. Once you’re sure the leak is fixed, turn off the water supply and clean up any debris from your work area.
Remember to always take safety precautions while working with plumbing. Wear protective gear and be cautious around sharp tools and hot water. If you are unsure about any steps or feel uncomfortable with the task, it’s best to call a professional plumber for assistance.
Testing and Ensuring the Leak is Fixed Properly
After completing the repair work on the Riley Murray leak, it is crucial to test and ensure that the problem is solved entirely. If the leak persists, all your effort will be for nothing, and you might even cause more damage to your plumbing system.
Here are some steps to follow to test and ensure that the leak is fixed correctly:
- Turn on the water supply: Once you have reassembled everything, turn on the water supply and check for leaks. Observe the repaired section of the plumbing system for at least an hour to ensure there are no leaks.
- Look for visible signs of moisture: Check the surrounding area and under the sink for signs of moisture, such as puddles of water, wet spots, or mold.
- Check the water pressure: You should also check the water pressure in the system to ensure that it is consistent. An unsteady flow or sudden bursts of water could indicate an issue with the repair work.
If everything appears fine, congratulations – you have successfully fixed the Riley Murray leak! But, if the problem persists, it might be best to call a professional plumber for assistance. An expert plumber will diagnose the problem and provide a long-lasting solution, ensuring you avoid the risk of any further leaks or damage.